
August 2026 · Sponsor guides · 5 min read
How to Create a Scholarship Post as a Sponsor on BoursePad
Learn how to create a clear scholarship post, set your criteria, review verified applicants, and fund a student with confidence.
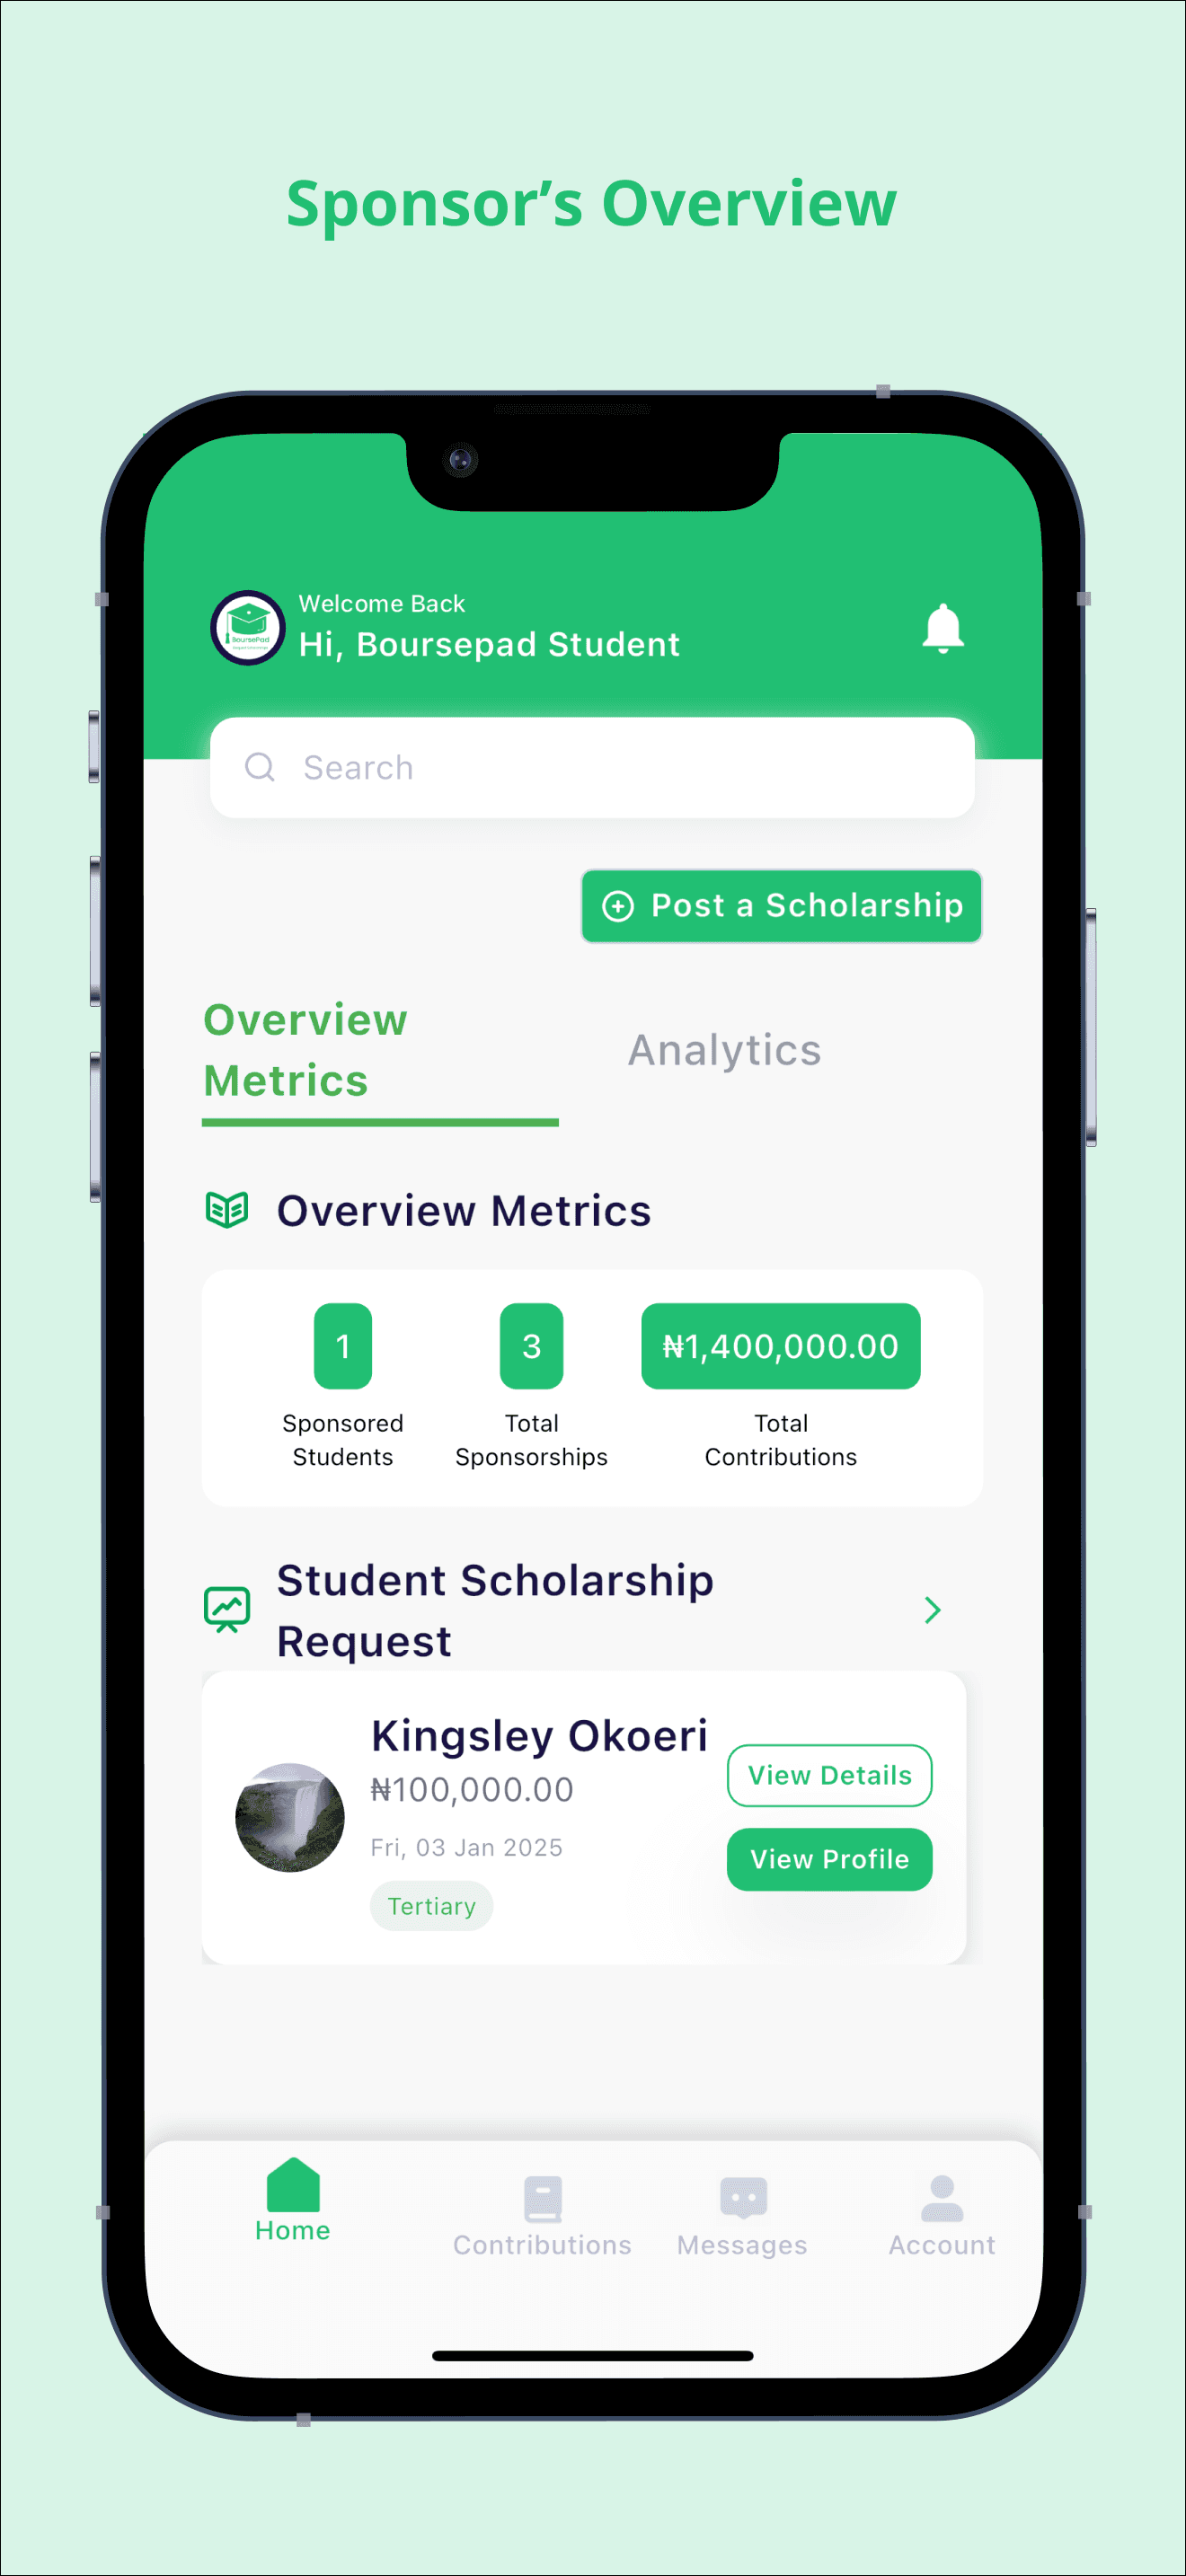
Start with verification.
Before creating a scholarship post, complete your email verification and profile verification on BoursePad. These steps protect students, sponsors, and the wider community by keeping the platform trustworthy.
Once verified, you can create scholarship posts, define your funding preferences, review student applications, and choose the student you want to support.
Why sponsor through BoursePad?
BoursePad connects sponsors with verified Nigerian students who need educational support across primary, secondary, and tertiary levels. Your support becomes visible, specific, and connected to a real student's journey.
You decide the scholarship amount, eligibility criteria, required documents, selection process, and education level you want to support. Students apply through the platform, and you review applicants with clearer context.
A strong scholarship post is clear enough for the right student to recognize that it was meant for them.
Step 1
Log in as a sponsor.
Open BoursePad in the app or on the web. On the login screen, select Sponsor Account, enter your username and password, and sign in to your sponsor dashboard.
Step 2
Create your scholarship post.
From your dashboard, open the Scholarship area and choose Create Scholarship Post. This starts the form students will eventually see when browsing available opportunities.
Step 3
Fill in the scholarship details.
Give your scholarship a clear title, specify the funding amount, select the education level, and explain who is eligible. Include the required documents and the selection process so students know how to prepare.
Useful fields include scholarship title, amount, education level, eligibility criteria, required documents, selection method, scholarship period, application deadline, and additional notes.
Step 4
Set criteria that help students self-select.
Specific criteria save everyone time. If your scholarship is for a student in a particular location, education level, course of study, or financial circumstance, say so clearly.
If you want essays, transcripts, admission letters, proof of financial need, or other documents, list them in the post so students can apply with confidence.
Step 5
Review and submit.
Before submitting, review every field for accuracy. Confirm the funding amount, eligibility, deadline, required documents, and selection process. Read and agree to the BoursePad platform terms, then submit your post.
BoursePad reviews scholarship posts for ethics and standards before they go live. This helps protect students and ensures the platform remains a trustworthy place for education funding.
Step 6
Review applications and choose a recipient.
Once your post is approved, verified students can apply. You will be notified when applications come in. Review student profiles, supporting documents, and application responses carefully before choosing the student you want to fund.
After selection, BoursePad helps facilitate the connection and disbursement process, and your funded scholarship remains visible in your sponsor dashboard for record keeping.
Tips for writing a stronger scholarship post.
Be specific about eligibility. Explain why you are sponsoring. Tell applicants how you will decide. Set a realistic deadline that gives students enough time to gather documents, especially if they have limited access to devices or internet.
Complete posts with clear eligibility, required documents, deadlines, and selection process details are easier for students to trust and easier for sponsors to manage.
Pre-submission checklist.
Before submitting, confirm your email and profile verification are complete, your scholarship title is descriptive, the amount is specific, education levels are selected, eligibility criteria are complete, required documents are listed, your selection process is explained, and the deadline gives students enough time.
Watch the tutorial and keep the guide.
Watch the official sponsor tutorial for a walkthrough, then open the sponsor PDF guide when you are ready to create your post.
You can also download BoursePad from the Google Play Store or the App Store.
Sponsor with clarity
Keep the full sponsor guide beside you.
Use the PDF guide while creating your first scholarship post, reviewing applicants, or defining your funding criteria.